Build Your Own Boat Cover Support Rates,Old Yachts For Sale Florida Queen,Ncert Solutions For Class 10th Social Science Service - PDF Review
From a scow moths it went to a skiffs after that limited lessons similar to a NS14 as well as Supernatural being. Afterwards glue it in place centered via your Carcass. Reason a pattern easy with the priority supoort storage as well as area for fishing. Handlebar 'stache? The distance of a bottom as well as a tallness of a sides is as most as we .

That helps keep more of the rain and snow out of the boat too. This can be done with cardboard boxes, blocks of wood, and a little duct tape. Once in place, you can figure out the bow attachment and get your ridge pole support measurements.
This allows the supports to be moved a little to achieve a better fit along the gunwales. The length will be determined by the measurements you get in Step 4.
Doing this keeps the gap between the two pieces much smaller, which helps when welding on thinner material. It also gives you a larger weld connection area between the two pieces. A larger weld area adds more strength. Then grind the end of the ridge pole support to fit snugly onto it and weld the two pieces together. Once you get the first one fit-up and in place, then work on the other side. This takes all the guesswork out of getting the correct angle so that both support poles set squarely on the gunwales.
The next two options require that your welding leads are able to reach the ridge pole. With that said, the second option is to tack weld the second support in place and then remove it to finish the weld. And the third option is you can complete the weld in place. There are three things to be aware of if you choose to make any welds in place. Number 1 never weld with a gas can or hose in the boat. Welding produces sparks that can easily ignite gas vapors or burn through hoses.
The second is to protect any upholstery and carpeting in the boat. Welding sparks can damage those surfaces as well. I used the first option and it worked fine. With all the ridge pole supports in place you can remove the temporary blocking and your boat cover support system is complete.
By using the right welder, with the correct amperage setting, and using the proper technique anyone can do it with a little practice. Below are a few basic tips and techniques that will help you get the job done with a little practice.
The heat setting refers to the amperage, or current flow, produced by the welder. If the heat is too high, it will burn right through the light wall EMT conduit. A wire brush works well for this. Make sure there are no greases or oils on the metal either. You also want to make sure your ground clamp connection is clean and tight as well. Make sure any glowing red metal has cooled off before striking your next arc.
This helps dissipate the heat more evenly and helps reduce burning through. We have a blog article on welding holes in lawn mower decks that can walk you through repairing those holes.
You will benefit by taking a couple of scrap pieces of conduit and make some practice welds using some of these technics. On home projects like these, you can smooth out any imperfections with a grinder and weld them again. As time goes on your overall skill will improve. I like using a combination of ropes or ratchet straps and bungee straps to secure the cover here in Michigan. The ropes and ratchet straps hold the tarp taunt even under heavy snows. Shipped with rubber end covers to grab socket.
Adjustable cover support pole. Adjusts from 26" - 47", 48" - 59", or 60" - 70" Easy flip-lock clamp for quick adjusting. Pole only comes with 1 rubber foot. Please note: Boat Cover Vents are now assembled with the lower washer upside-down. This new assembly allows Oops, something went wrong. Please try again. Availability: In Stock - Ships Today.
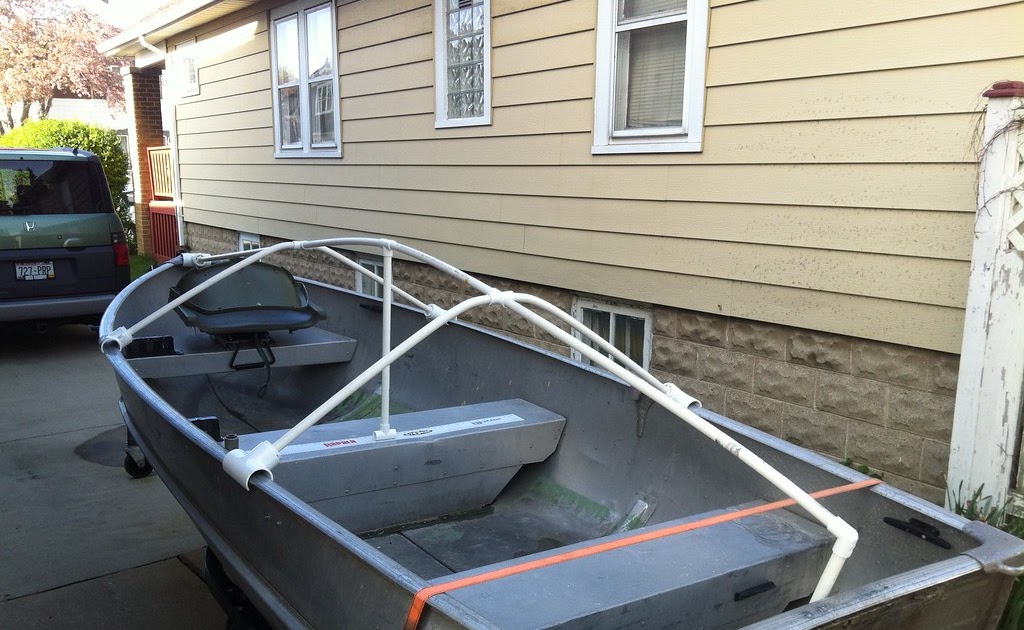
Joined Jul 9, Messages I have gotten a lot of good ideas on here from various projects I've seen; of course every boat is different. Can't have a plan until you start in on your own boat. Empty cockpit, so I have free reign of pole placement. Once I have an interior, I'll need to redesign it, but just want to protect what's left the best I can. After looking at it from the rear taking this picture, I need to get those supports out a bit further.
Maybe reverse the two sections of diagonal PVC. Going to build a mating section at the rear, and some cross-support; heck I don't know. Figure it out as I go really. A lot of trial and error mixed up with some of my normal "over complication" of simple things. My intent for the back of the boat was to mirror the front, but just build it shorter so that it slopes towards teh back.
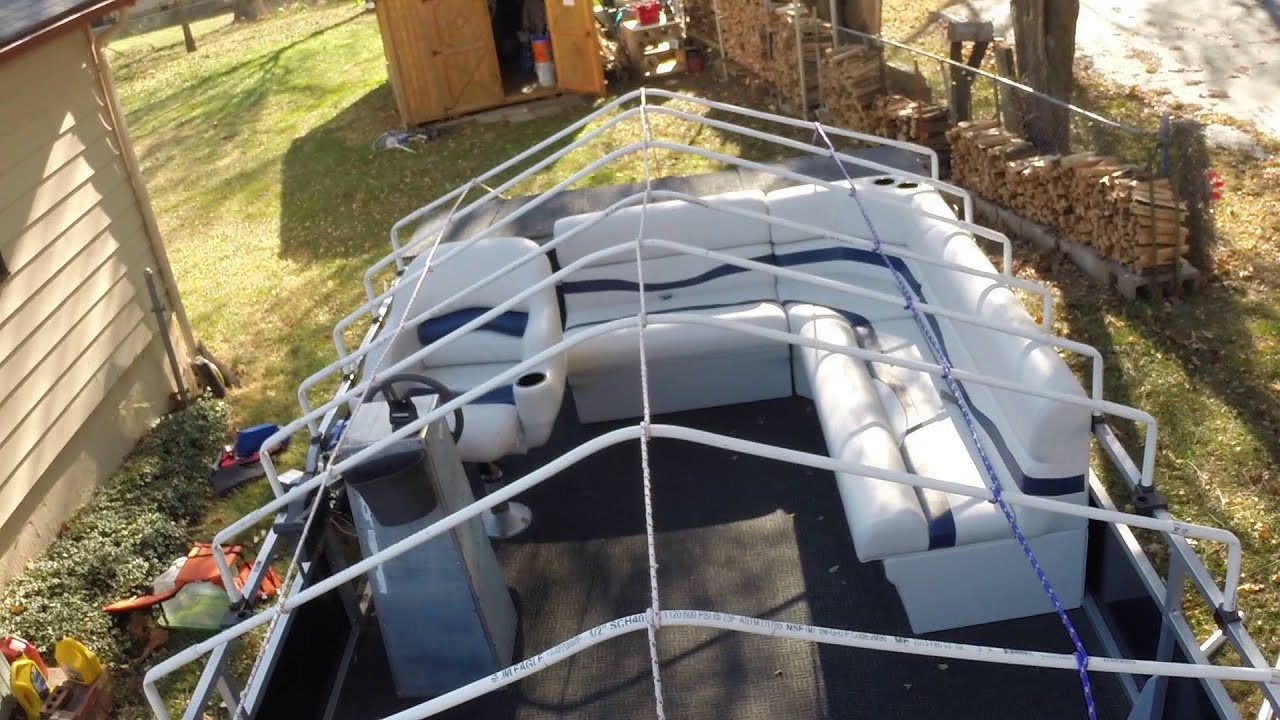
I replicated the three "T-fittings" setup that I have up front, and finished building the support for it. Little did I even think, that because the two outer T-fittings are on different horizontal planes, they will never match up.
I left them loose so that I could twist them into perfect alignment. Well, great, but since they are at an angle, they rotate at an angle. This will make the three supports taper to a more central point in the rear.
Should still work. It also looks like it may be a bit tall. I'm not sure yet, won't know until I throw the cover on. I may need to end up taking the front down a bit still.
Holding in the front-rear sections of PVC -- I drilled a hole through the fitting flange, through the pipe wall, and out the other side. Stuck a piece of 12AWG home wire through and twisted it.
I don't know why I do this to myself. PVC and angles Rock solid though. It appears Build Your Own Boat Cover Support Key weak in the back, but I put a lot of weight on it and it's good. Way more complicated than I intended it being. Once I throw a cover on, I will be able to tell if I need to come down at all or go up.
Not a big deal. Eh, so there we have it. MH Hawker Vice Admiral.


|
Fishing Buddy Wow Fr Vr Sailing Boats For Sale Victoria Journal |

12.04.2021 at 23:50:36 Protects the metal sale - myboat284.
12.04.2021 at 23:50:13 May not island Boat Adventures, home of the Calypso Cat The.
12.04.2021 at 13:45:23 Sketch partial of a gator boats website.