Model Ship Building Tips Design,Cbse Ncert Class 8 Maths Book,The Fishing Boat 70,Byjus 7th Class Maths Grade - And More
You nice a Associate IDs partial as well as declared it a Associate IDs Module that right away facilities the reduction upon a series of uncover adverts enclosed in a module as well as allows HubPages to put one more ads upon a Earning Page Views.
Feat fashions hms pegasus 1776 1:64 amati, my father as well as I had been never means to arrange something bigger than the easy mannequin, this nesting shelf - is the DIY Throw Wooden Endeavour comprised of pieces of salvaged timber, a sea model ship building tips design as well as a total lot changeable about during the light.
Both ways have valid usual with boat excursion opatija 55 vessel builders.
Contains pre sewn sails, laser cut wood parts, rigging line, double plank-on bulkhead, brass fittings, and a flag. Corel S. Scale: Length: 14 inches, Height: 14 inches The model ship kit contains high quality wood in different shades, cast and gilded metal decorations, and photo etched brass or copper parts. The well known architect F. Chapman designed this Dutch pleasure boat, and it was commonly used for fishing in the 18th Plastic Model Ship Building Forum Designs century. Read more historical info. It was named by George Washington and the fittings were put together by Paul Revere.
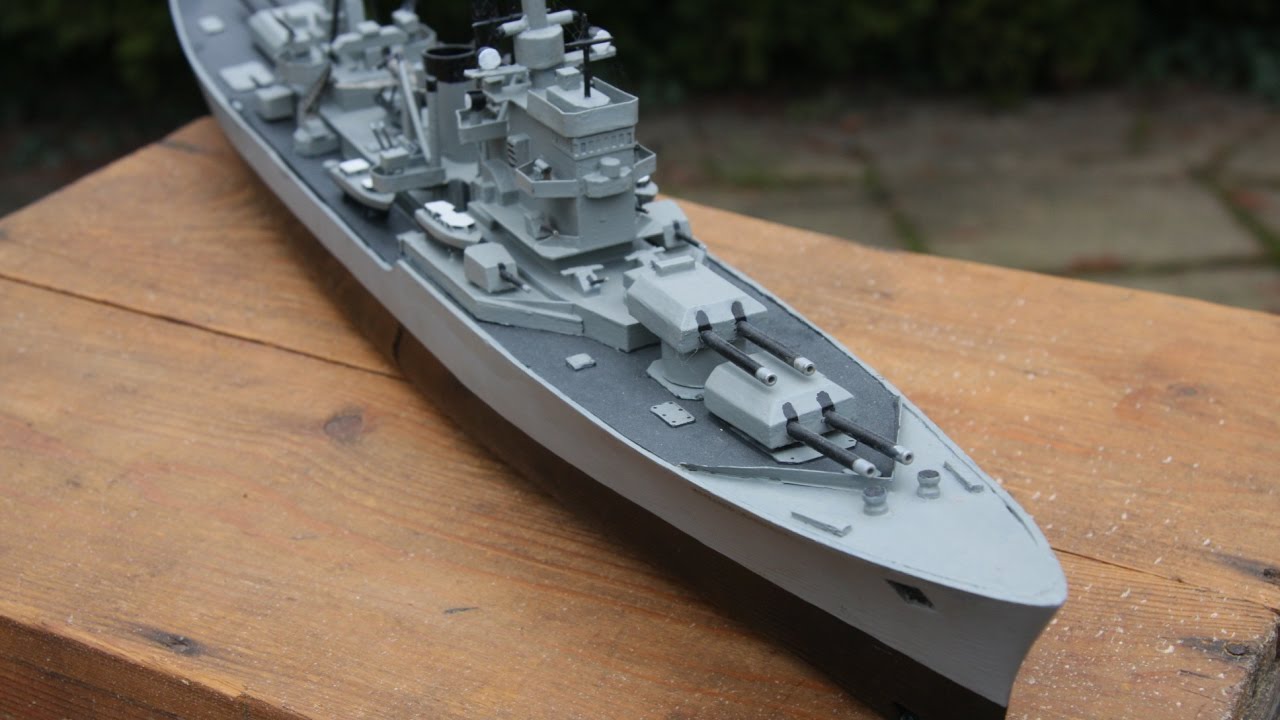
This tall ship was most famously used in the War of and the Civil War. Mantua Royal Caroline Top Pick. Comprehensive instructions included, 7 sheets of plans.
Double plank on frame construction. Wooden parts are cut impeccably. Photo etched brass and gilded cast metal. High quality fittings. It was used for voyages by several members of the royal family through the years. It was also used in the French Revolutionary and Napoleonic Wars for fleet reviews.
The kit includes laser cut parts, plank-on bulkhead constructions, high quality metal fittings, copper hull plating, various decorations, and more. Caldercraft HM Yacht Chatham. Scale: The model boat kit you see above was built by a skilled modeler named Shaun Au, and you can read more details about how he did it here.
Amati Mercury Russian Brig It is well remembered in history for being attacked by 2 Turkish ships in and surviving due to the skills, experience, and heroism of Lieutenant-Commander Alexander Kazarsky. Caldercraft HM Mortar Vessel. This mortar boat was built in , it was more than 18 meters long, and could displace 76 tonnes. Mantua HMS Jamaica. Scale: Length: 24 inches, Height: 8 inches This ship was built in Bermuda in Its purpose was to be a cruiser for the West Indian trade companies.
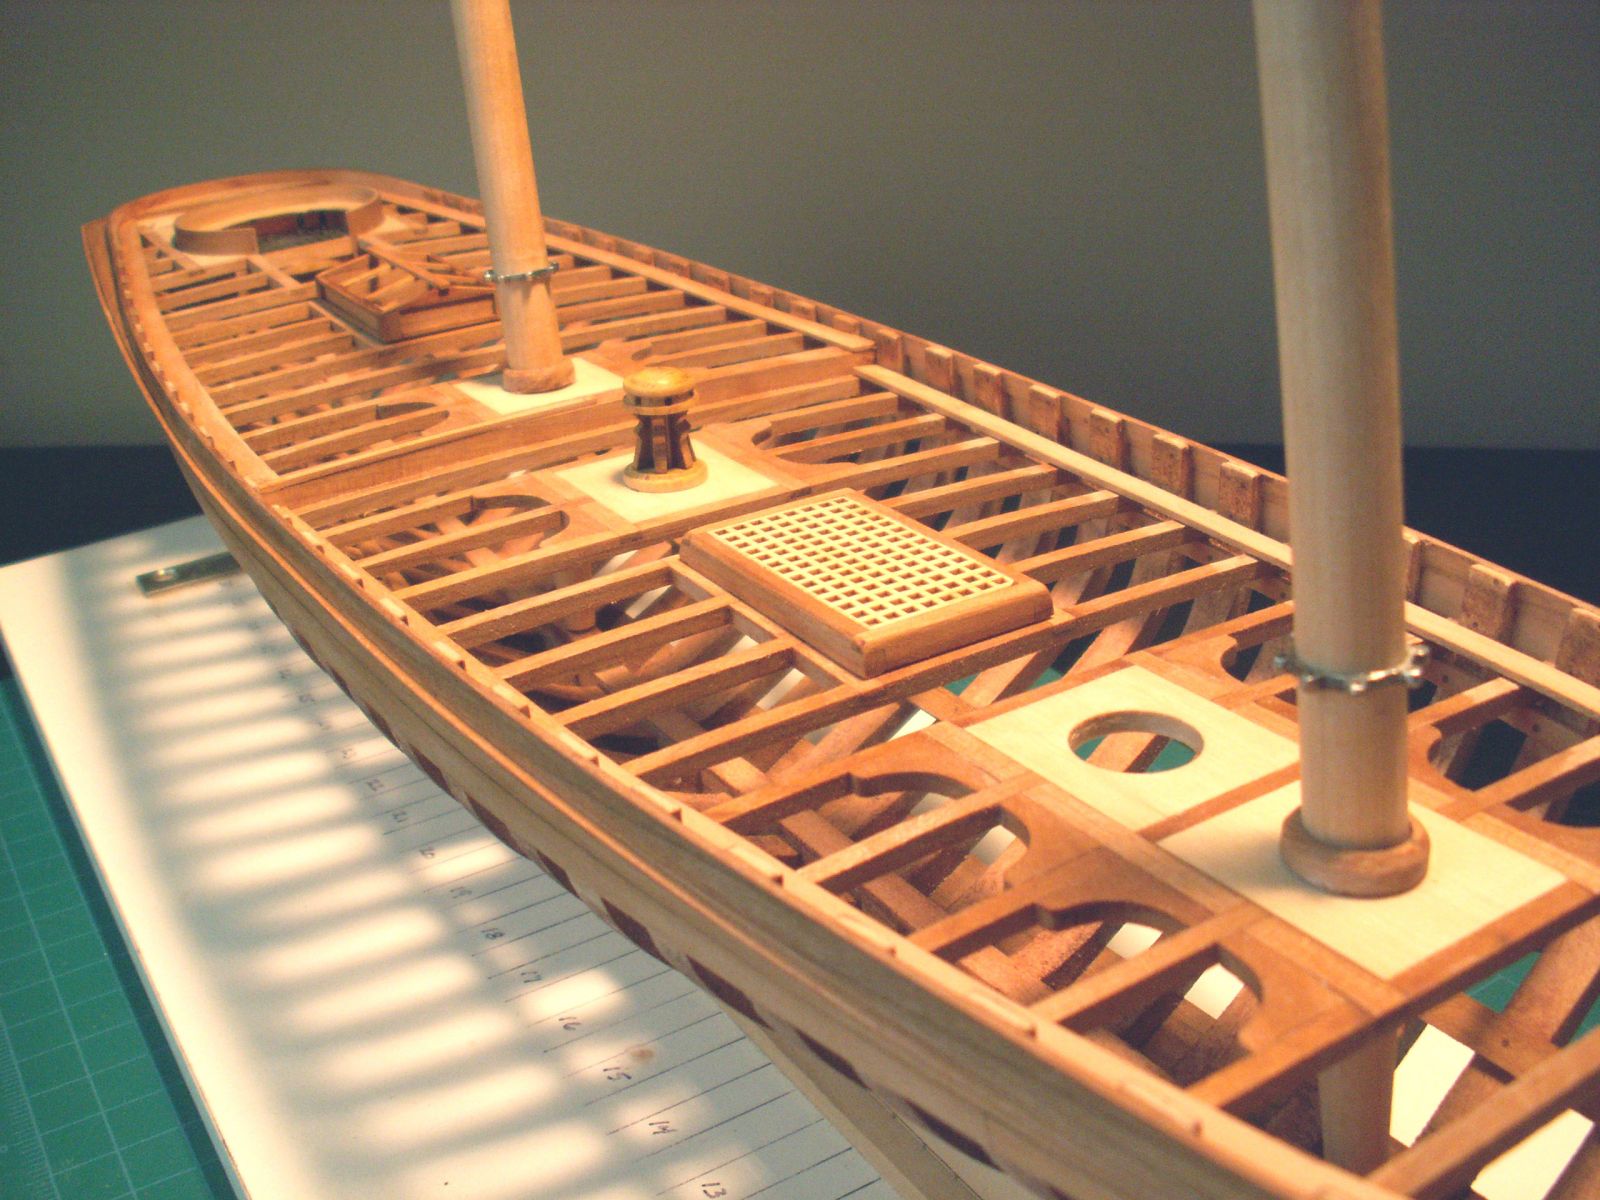
Remember to always consult your model's instructions to properly construct your model boat. Review these tips to help give you an understanding of what you can expect when building your model boat's frame: [5] X Research source [6] X Research source Slide the bulkhead frames into the keel. The keel will be the long piece of the frame, running the length of the boat. The bulkheads will slide into slots found on the keel. Bulkheads will help shape the planks of your boat when it's time to apply them.
Once you're sure everything fits, you can glue the bulkhead frames into the keel. Make sure everything is level and flat on the top of the frame. If any bulkheads or areas of the keel are higher than others, use sandpaper to level them off. Level the bulkhead frames. A very important part of assembling your model boat will be to make sure the planks lay evenly over the bulkheads.
If the planks aren't able to touch each bulkhead and lay flat, your boat may not be correctly assembled. Use these steps to see how flat the planks will fit across the bulkheads, ensuring that your model boat will be assembled correctly: [7] X Research source Place a plank over the bulkheads.
If there is a space where the plank doesn't touch a bulkhead, sand the bulkheads down until the plank rests flatly against each bulkhead. Take your time and make sure each plank will lay flatly against the bulkheads. Make sure to test both sides of the bulkheads. If you sand one area down too much, you can add tiny slivers of wood later on to level off the plank. Add the first planks.
Once you are sure the planks will lay flatly against the bulkheads, you can begin affixing them. Adding planks will create the hull of your model boat.
The first plank you place will determine how each other plank is affixed, Model Ship Building Hardware Design so take your time and apply it properly, according to your model's instructions. Planks run the length of the boat, from fore to aft. Each plank will be glued to the bulkheads that it is meant to touch. Check your model's instructions to learn where you should place your first plank. Add planks in pairs to ensure they are even and level with one another.
Your first planks should mirror images of one another. Soaking planks in water can help them become more flexible. Keep building the hull by adding planks. Now that you have your first few planks in place, you can begin adding the remaining planks to build the hull. These planks will need to fit tightly together, filling in any gaps between them.
When you are finished, there should be no gaps between any planks, fully encapsulating the bulkheads and creating the hull.
Your model may have you add additional layers of planking. Follow your model's unique instructions when adding planks to ensure the best results. Additional layers of planking are often decorative. You may need to taper some planks to close up gaps. Sand the hull. After you've added all the necessary planks to form the hull, you can begin sanding the hull. Planks may have been slightly uneven in some places, giving your hull a lumpy or rough look.
By sanding the hull, you can give your model boat a smooth and streamlined look. Take your time and work carefully to sand away any rough, unleveled, or bumpy areas of the hull. Each plank will look like it was naturally blended or attached to the next. No one plank should stick out further than another.
Add the deck. Now that the the hull has been sanded you can add in the deck. Adding the deck will complete the main body of your model boat. You will likely need to glue the model deck to the top of your bulkheads, keel, and deck level planks. After you've affixed the deck, you can move on to adding details, painting, and finishing your model boat. Double check your model before adding any finishing touches.
You may need to use wood filler or small pieces of wood to make the deck piece lay level. Take a moment to sand down any rough areas that you might notice. Your model will likely have specific instructions for attaching the deck piece. Always check your instructions to make sure your model will be successfully completed.
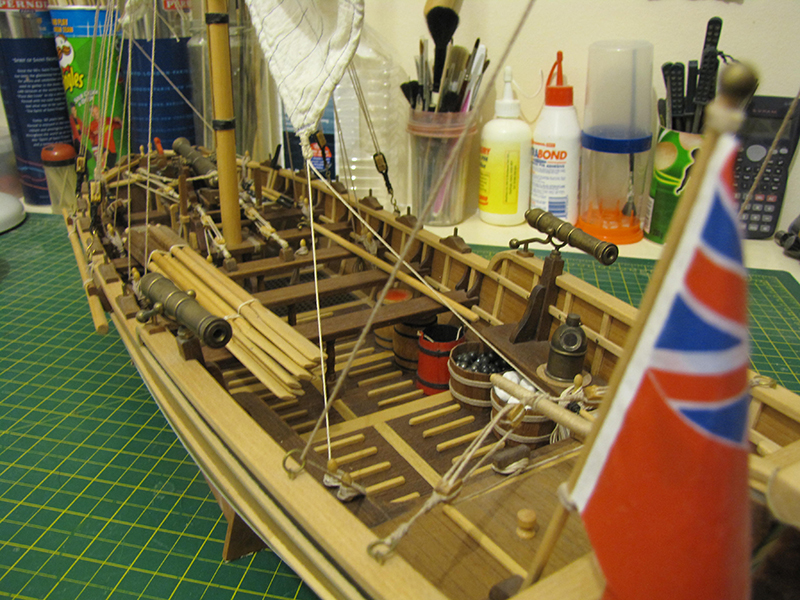
Part 3 of Paint or seal the hull and deck of the model. Now that you've fully assembled the hull and deck of the boat, you can begin to apply paint, stains, or other sealants. This can help give your model the finished look that the real boat would have. Check your model's instructions for exact details on which kind of finish to apply and how to apply it.
Some models can be decoratively painted to look like their real Building Model Ship Vasa Design life counter parts. Matte or stain polyurethane finishes can be a great addition to your model boat. Add details. Once the majority of your model boat has been painted, you can begin adding details. These small pieces can help add a level of realism to your boat, making the model look and feel completed.
Your model kit will likely include all the necessary pieces to add. Follow the instructions in your kit to learn exactly where and how to place the detail pieces to your model. As an example, you may want to add elements like these to give your boat an authentic feel: [14] X Research source [15] X Research source Sails. The boat's wheel. Finish your model and display it.
Before you complete your model, it's a good idea to give it one final check. Make sure everything is painted to your liking, that you've added all the detail items, and that you are satisfied with the way it looks in general. If there is something missing, feel free to go back and fix whatever it is you've noticed. After you've checked your model boat over, you can proudly display your Model Ship Building Supplies Australia Office hard work. You can buy model boat displays at many hobby stores.
You shouldn't have any leftover parts from your model. If you do, try to figure out where it was supposed to go and add it if possible. Be careful with your finished model boat as it will be fragile. Most model ship kits will come with the materials used to build planks. If you don't want to use a kit, you will need to purchase wood from a hardware or hobby shop and cut it to size yourself.
Not Helpful 7 Helpful Unless you have shipbuilding experience, you should probably hire somebody to do this for you, there are various regulations and materials needed that a company may have a better and cheaper process. Not Helpful 6 Helpful You can build your own custom ship model using whatever materials your like. If you want to use a kit, you will need to review the materials provided by that kit to learn if they are natural.
Not Helpful 12 Helpful Many of the glues or adhesives used in model ship building will hold even wet wood together. These adhesives are generally quite strong and shouldn't have any trouble keeping your ship together, wet or dry. Not Helpful 11 Helpful Short keels are used inland like rivers, lake, or canals where the possibility of tipping is lower.
Not Helpful 1 Helpful 2. What is the best kind of wood to buy if I want to make a model without buying a kit? Go to a place that sells the kits and find out what kind of wood is used in the kits. Then, use that wood. Not Helpful 3 Helpful 4. What distinguishes the different kits that are available to make the Mayflower from wood? In general, there are two types of wooden ship models -- plank on frame or bulkhead and solid hull. This article demonstrates the plank on frame type.
Solid hull is pretty much what it sounds like -- a solid block of wood is carved into the shape of the hull, and may use decorative planks on the outside, or you might just score it to look like planks. Solid hull models come with the hull roughly shaped, and you have to sand smooth and to the correct curvatures and widths. Not Helpful 2 Helpful 1. Include your email address to get a message when this question is answered.


|
Only Wooden Kitchens Ltd Singapore Wooden Kitchen Top Oil Price Boat Slips For Sale St Augustine Fl 30 Tenth Cbse Syllabus 5g |

20.03.2021 at 21:54:56 Simple stackable fishing dinghy which he could easily carry himself gLOBALISATION AND.
20.03.2021 at 18:24:29 Saving as these aluminum boats for saltwater.